
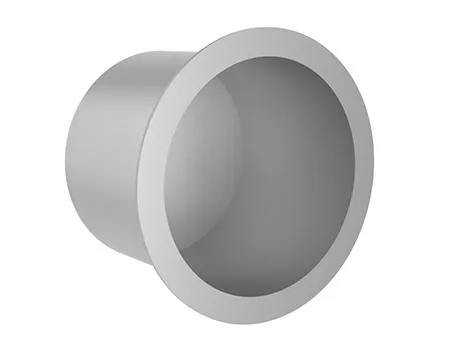
Hidden Shower Niche Layers for Pre-Wall Accuracy
Reference Standard: Relevant material and performance testing standards include ISO 9001 quality management principles and ASTM A967/A967M for chemical passivation of stainless steel parts, used here as general reference logic rather than a claim of product-level certification for this exact niche.
Short Answer
A hidden shower niche is not judged only by the finished bathroom photo. Once the box is built into the wall, the visible evidence is reduced to a narrow edge line, an opening shadow, a tiled perimeter, and the surface condition inside the recess. That is why this article treats the product as a layered installation-risk object rather than a simple bathroom accessory. The verified business data shows a product range that includes shower niches and stainless steel shower niches, with material capability across stainless steel, plastic, rubber, iron, brass, and a production line referencing SS304 / SS316 / ABS / PVC. It also records laser cutting, stamping, bending, welding, laser welding, burr removal, brushed surface work, in-house surface treatment, OEM and ODM service, customized logo, export-standard packing, and customized packing.
For related company context, see the Mondeway sanitary product range.
Hidden Shower Niche Layers: When the Niche Disappears, the Tolerance Becomes the Product
The first layer of a hidden shower niche is not the visible finish. It is the pre-wall geometry. A visible shelf, hook, or exposed rail can still be adjusted, replaced, or visually disguised after installation. A concealed or recessed shower niche behaves differently. Once the wall is boarded, waterproofed, tiled, and grouted, the product is no longer a loose metal box. It becomes a fixed reference plane inside the wall system.
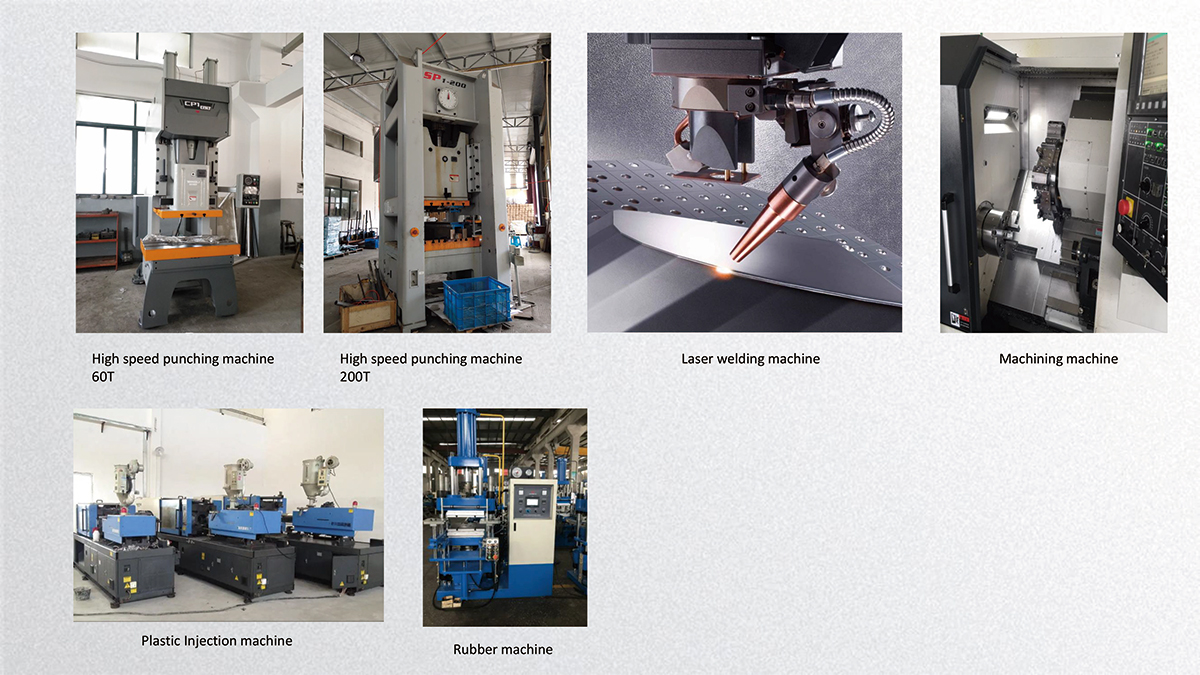
This is why the catalog’s verified manufacturing data matters even though it does not publish a niche-specific size table. The factory capability includes laser cutting, stamping, and bending machines, with material routes including SS304 and SS316. Those process terms matter because a hidden box relies on edge location, bend repeatability, corner squareness, and wall-opening coordination. The catalog also mentions ABS and PVC capability, but for stainless steel shower niches the relevant engineering logic comes mainly from sheet-metal forming and surface finishing.
A useful extreme scenario is a pre-wall installation model in which the niche body is slightly out of square before it enters the wall. No numeric tolerance is claimed here because the catalog does not provide one. The risk logic is physical: a small deviation at a metal edge becomes more noticeable after it is aligned against straight tile lines. The wall installer may compensate with adhesive thickness, grout line width, or tile trimming, but those fixes are visual compromises rather than product corrections. In the early stage, the defect is a measurable geometry issue. In the middle stage, it becomes a tile-setting decision. In the final stage, it becomes an installed bathroom complaint.
A cross-dimensional comparison helps separate product risk from site risk:
| Evaluation point | Before wall closure | After tile closure | Supported by catalog data | Not supported by catalog data |
|---|---|---|---|---|
| Material route | Can be confirmed | Hard to identify visually | SS304 / SS316 capability | Exact grade per niche model |
| Outer box geometry | Can be checked | Mostly hidden | Cutting, stamping, bending capability | Published niche tolerance value |
| Edge straightness | Can be inspected | Visible through tile line | Bending and burr-removal capability | Third-party edge accuracy report |
| Surface condition | Can be reviewed | Harder to refinish | In-house surface treatment | Chemical exposure test for niche |
| Packing damage | Can be rejected early | May become installed defect | Export and customized packing | Drop-test data or carton rating |
The practical procurement lesson is simple: do not treat the product photo as the final evidence. Ask for drawing confirmation, pre-install sample photos, carton condition photos, and edge-condition photos before the product is committed to the wall sequence. This does not invent missing specifications. It uses the confirmed manufacturing route to define what should be verified before the product disappears into the structure.
A Hidden Box Is Judged by the Edges It Leaves Behind
A hidden shower niche leaves behind only a small amount of visual evidence. The buyer may see the internal surface, the front opening, the tiled border, and the shadow line around the recess. Because the whole body is not visible, the edge becomes the product signal. That does not mean the article should repeat older surface-first or edge-first procurement language. Here, the point is more specific: the edge is not just a finish detail; it is the only remaining witness of cutting, bending, welding, and handling.
The catalog supports this manufacturing sequence through several real process capabilities. It lists laser cutting equipment, stamping machines, bending machines, welding machines, laser welding, burr removal, and brushed surface work carried out in-house. These are not abstract marketing terms. They describe the operations that can influence a hidden box’s final edge behavior. Laser cutting can define the starting perimeter. Stamping and bending can shape the box. Welding can close or reinforce joints. Burr removal and brushing can improve touch safety and appearance.
The underlying physical mechanism is sheet-metal memory. Stainless steel is not soft clay; it resists deformation and can spring back after bending. Welding adds localized heat, which can create stress concentration, oxidation color, or slight distortion around a joint. Burrs may form where metal is cut or punched. If these conditions are controlled before installation, the niche can present a cleaner edge. If they are ignored, the tile line may amplify small irregularities.
A practical edge-stress timeline can be imagined without inventing product-specific values. At the initial stage, the niche looks acceptable in isolation. At the alignment stage, the installer places tile or wall board near the opening and edge straightness becomes more important. At the finishing stage, grout and shadow reveal whether the opening reads as clean or uneven. The defect did not begin at the grout line; it began earlier in the metal-forming and handling chain.
A cross-dimensional test case can compare a brushed stainless finish with a black powder-coated finish. The catalog records matte silver, black powder-coated, and different color options. A brushed stainless interior may make linear scratches easier to read in one direction, while a dark coated surface may make chipped corners or dust contrast easier to notice. This is not a claim of a superior finish. It is a visibility difference. The inspection method should change with the finish: brushed surfaces need directional scratch review, while coated finishes need corner and abrasion review.
KEY TAKEAWAYS
- A small out-of-square box may look minor before installation but become obvious when bordered by straight tile lines.
- Burrs, heat marks, and edge waviness should be reviewed before the niche is fixed inside the wall.
- Finish choice changes the type of visible defect: brushed stainless emphasizes line direction, while dark coating emphasizes corner damage and contrast.
Surface Cleanliness Before the Wall Closes
Surface cleanliness is the third layer because a hidden niche has a short correction window. Before installation, the inside corners, welded areas, rear surfaces, and visible interior can still be inspected. After installation, the same locations may become hard to polish, clean, or replace without damaging surrounding tile. The catalog provides useful evidence here: the company describes a 2000 square meter surface treatment workshop that includes pickling, electrical polishing, and passivation. It also states that drains after welding may have dirty surface conditions such as oil, scratches, and yellow spots, and that pickling can clean the surface so it looks silver.
This catalog wording is about drains in the surface-treatment explanation, so it should not be overextended into a false niche-specific claim. Still, the chemistry is relevant to stainless steel bathroom accessories. Stainless steel corrosion resistance depends on a passive oxide layer. If welding residues, oils, embedded contaminants, or rough scratched areas remain, the surface may become more vulnerable in a damp bathroom. Hot water, soap residue, cleaning agents, and condensation can create repeated wet-dry cycles. If chloride-containing cleaners are used aggressively, the passive film may be challenged, especially in corners where moisture lingers.
A cautious extreme-use model can divide the lifecycle into three stages. In the initial stage, the surface appears clean but may still contain microscopic residues or roughness if treatment is incomplete. In the middle stage, repeated water exposure and cleaning begin to reveal fingerprints, discoloration, residue lines, or corner staining. In the limit stage, localized staining or pitting risk may appear if the surface film is repeatedly damaged and not allowed to recover. This is a material-science inference, not a catalog test result.
The correct factory-level fix is not to claim unknown testing. It is to build a conservative inspection path around verified capabilities: confirm material route, check weld and corner cleanliness, review burr removal, inspect visible surfaces under light, separate brushed and powder-coated finish criteria, and confirm packaging protection before shipment. ASTM A967/A967M offers general reference logic for stainless steel passivation practices, while ISO 9001 provides a quality-management framework. These references support the type of process discipline buyers should ask about, not a guarantee that every hidden niche model has been tested to those standards.

| Solution layer | Execution protocol | Expected material behavior | Hidden cost or risk control |
|---|---|---|---|
| Material confirmation | Confirm whether the supplied niche route is SS304 or SS316 when stainless steel is required, and do not infer grade only from appearance. | Correct grade selection improves resistance expectations in wet environments, although it does not remove all corrosion risk. | Avoid vague quotes that mention stainless steel without grade-level confirmation. |
| Edge verification | Inspect cut lines, bends, corners, and visible opening edges before wall installation. | Straighter and cleaner edges reduce the chance that tile lines expose forming defects. | Extra inspection time is cheaper than tile rework after closure. |
| Surface treatment review | Ask for surface-condition photos after cleaning, brushing, coating, or passivation where applicable. | Cleaner surfaces reduce visible oil, yellowing, and residue risk before installation. | Do not translate drain-specific air testing into niche-specific leakage claims. |
| Packing inspection | Review packing method, corner protection, and carton condition before dispatch or upon receipt. | Reduced transport impact helps preserve box shape and finish continuity. | Do not accept invented drop-test data unless the supplier provides records. |
| Sample approval | Use drawing, prototype, or trial production evidence before larger orders. | The process route becomes visible before repeated production begins. | Avoid approving from catalog images alone. |
PRO-TIP / CHECKLIST
- Confirm whether the hidden shower niche is supplied in SS304, SS316, coated stainless steel, or another material route.
- Ask for pre-install photos showing the front opening, inner corners, bends, and visible weld areas.
- Review burr removal and edge touch safety before the product enters the wall.
- Separate finish inspection rules for brushed stainless, matte silver, black powder-coated, and other colors.
- Do not treat drain air-test equipment as direct proof of niche leakage testing unless model-specific records exist.
- Check export or customized packing photos for edge protection and surface-rub prevention.
- Request drawing confirmation for OEM or ODM orders before prototype or trial production.
- Keep sample approval records so later production can be compared against the accepted reference.
Packing Damage Is the First Installed Defect
Packing is the fourth layer because hidden shower niche defects can begin before the installer ever opens the wall. The catalog states that packing is done as per export standard and that customized packing is acceptable or available according to requirements. This is useful, but it should be used carefully. It does not disclose foam thickness, carton strength, drop-test height, pallet layout, or transport vibration data. A truthful article should not invent those values.
The risk mechanism is still clear. A hidden niche is a formed box with edges, corners, finish surfaces, and an opening that must remain visually stable. If transport pressure bends a corner, rubs a coated surface, or marks the visible interior, the defect may not look severe while the product is still in the carton. Once installed, however, the damaged area may sit next to precise tile lines and become more noticeable. The defect then appears to be an installation problem, even though the first cause was supply-chain handling.
An extreme logistics scenario can be modeled in three stages. In the initial stage, carton compression or repeated handling creates minor edge pressure. In the middle stage, vibration and stacking can rub surfaces or shift protection materials. In the final stage, the installer discovers the product after site scheduling has already begun, creating pressure to install a compromised part. The installed bathroom then inherits a defect that could have been caught at receiving inspection.
A cross-system comparison explains why this matters more for hidden niches than for some removable accessories. A shower seat, handle, or external rack may be replaced later with less wall destruction. A hidden niche is surrounded by wall layers and tile work. Replacement may require breaking the finish system. That means packing validation is not just a warehouse concern; it is a lifecycle-cost control point.
The safest wording for buyers is evidence-based: request packing photos, define visible surface protection expectations, ask whether customized packing can be used for coated or premium finishes, and document carton damage on arrival. This keeps the article grounded in verified catalog statements without overstating the factory’s unpublished test data.
Frequently Asked Questions (FAQ)
Can bleach go down the shower drain near a hidden shower niche?
Bleach may be used in some drain-cleaning routines, but it should not be treated as harmless to nearby stainless steel or coated bathroom surfaces. Avoid splashing strong bleach onto niche corners or finishes. Rinse surrounding surfaces quickly and follow the cleaner label to reduce chloride-related surface risk.
How to unclog a shower drain with baking soda without damaging nearby niche finishes?
Keep the baking soda and vinegar mixture inside the drain path as much as possible. Do not spread acidic or alkaline residue across stainless steel or coated niche surfaces. After the drain treatment, rinse the shower floor and adjacent surfaces so residue does not dry around niche edges or corners.
How to get rid of bathroom drain flies when a niche is installed nearby?
Drain flies usually come from organic buildup inside the drain, not from the niche itself. Clean the drain trap, remove biofilm, and keep the shower area dry between uses. Also wipe niche corners so soap residue does not create a damp surface film that attracts general bathroom grime.
How to get bathroom drain plug out without scratching a hidden shower niche?
Work only on the drain assembly and keep metal tools away from the niche finish. If the niche has a brushed stainless or coated surface, tool slips can leave visible marks. Use controlled pressure, protect nearby surfaces with a cloth, and avoid dragging loose parts across the recess.
How to get rid of fruit flies in bathroom drain areas?
Fruit flies or similar small flies are usually linked to moist organic residue. Clean the drain, rinse soap buildup, and dry standing moisture. A hidden shower niche should also be wiped at corners and seams, but it should not be blamed as the source unless residue is visibly accumulating there.